Setup Your Control Plane
Last updated: 2 minutes read.
Introduction
This page explains how to set up a control plane with plugins to customise it on Tyk Cloud, so that you can ensure your API management solution is as effective as possible.
What do I need to do to use Plugins?

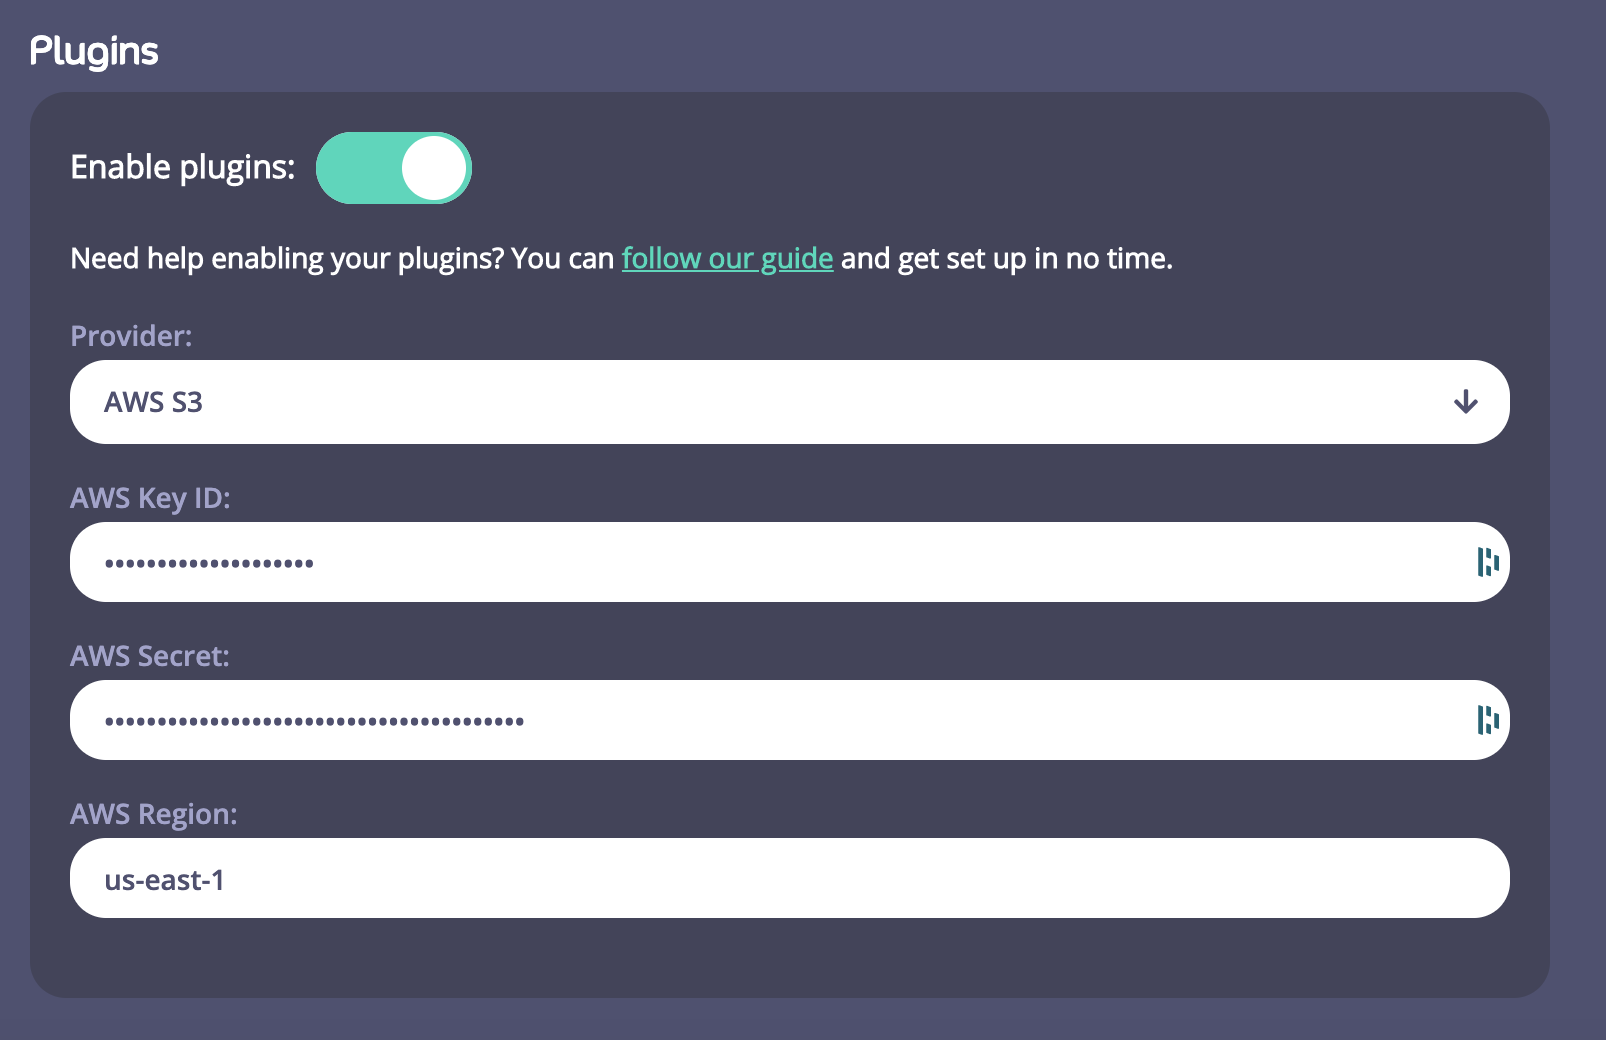
- You need to enable Plugins on a Control Plane and on a Cloud Data Plane.
- You need to enter Provider details to enable you to store and access your plugins. For this version of Tyk Cloud, we are supporting Amazon AWS S3. If you haven’t got an AWS S3 account, go to https://aws.amazon.com/s3/ and set one up. You will need the following details to configure SW3 within your Control Plane:
- Your AWS Key ID
- Your AWS Secret
- Your AWS Region
Note
For this release of Tyk Cloud, you need to enter your AWS Region manually. You also need to consider that uploading a custom plugin bundle to Tyk Cloud results in a new bucket being created for each bundle uploaded. It also requires that Tyk Cloud has permissions in the form of an AWS IAM policy to have create rights on AWS.
AWS IAM Policy
What is an IAM Policy?
-
A policy is an entity that, when attached to an identity or resource, defines their permissions. IAM policies define permissions for an action regardless of the method that you use to perform the operation.
-
We have included a sample IAM policy that you need to create in AWS to allow the plugin bundle to work. For more information on creating IAM policies, see the AWS Documentation.
Warning
We recommend you restrict your IAM user as much as possible before sharing the credentials with any 3rd party, including Tyk Cloud. See IAM User Permissions for more details.
{
    "Version": "2012-10-17",
    "Statement": [
        {
            "Sid": "VisualEditor0",
            "Effect": "Allow",
            "Action": [
                "s3:CreateBucket",
                "s3:ListBucket",
                "s3:GetBucketLocation",
                "s3:DeleteBucket"
            ],
            "Resource": "arn:aws:s3:::mserv-plugin-*"
        },
        {
            "Effect": "Allow",
            "Action": "s3:ListAllMyBuckets",
            "Resource": "*"
        },
        {
            "Sid": "VisualEditor1",
            "Effect": "Allow",
            "Action": [
                "s3:PutObject",
                "s3:GetObject",
                "s3:DeleteObject"
            ],
            "Resource": "arn:aws:s3:::mserv-plugin-*/*"
        }
    ]
}
Next you’ll set up the Python authentication code bundle.