Using the Request Validation middleware with Tyk OAS APIs
Last updated: 6 minutes read.
The request validation middleware provides a way to validate the presence, correctness and conformity of HTTP requests to make sure they meet the expected format required by the upstream API endpoints.
The middleware is configured in the Tyk OAS API Definition. You can do this via the Tyk Dashboard API or in the API Designer.
If you’re using the legacy Tyk Classic APIs, then check out the Tyk Classic page.
Request schema in OpenAPI Specification
The OpenAPI Specification supports the definition of a schema to describe and limit the content of any field in an API request or response.
Tyk’s request validation middleware automatically parses the schema for the request in the OpenAPI description part of the Tyk OAS API Definition and uses this to compare against the incoming request.
An OpenAPI schema can reference other schemas defined elsewhere, letting you write complex validations very efficiently since you don’t need to re-define the validation for a particular object every time you wish to refer to it. Tyk only supports local references to schemas (within the same OpenAPI document).
As explained in the OpenAPI documentation, the structure of an API request is described by two components:
- parameters (headers, query parameters, path parameters)
- request body (payload)
Request parameters
The parameters field in the OpenAPI description is an array of parameter objects that each describe one parameter shared by all operations on that path. Here, an operation is defined as a combination of HTTP method and path, or, as Tyk calls it, an endpoint. Each parameter has two mandatory fields:
in: the location of the parameter (path,query,header)name: a unique identifier within that location (i.e. no duplicate header names for a given operation/endpoint)
There are also optional description and required fields.
For each parameter, a schema can be declared that defines the type of data that can be stored (e.g. boolean, string) and any example or default values.
Request body
The requestBody field in the OpenAPI description is a Request Body Object. This has two optional fields (description and required) plus the content section which allows you to define a schema for the expected payload. Different schemas can be declared for different media types that are identified by content-type (e.g. application/json, application/xml and text/plain).
Configuring the request validation middleware
The request validation middleware does not require configuration when working with Tyk OAS APIs. If it is enabled for an endpoint, then the middleware will automatically validate requests made to that endpoint against the schema defined in the API definition. The default response, if validation fails, is for Tyk Gateway to reject the request with an HTTP 422 Unprocessable Entity response. If you want to return a different HTTP status code, this can be set when enabling the middleware.
Enabling the request validation middleware
When you create a Tyk OAS API by importing your OpenAPI description, you can instruct Tyk to enable request validation automatically for all endpoints with defined schemas. If you are creating your API without import, or if you only want to enable request validation for some endpoints, you can manually enable the middleware in the Tyk OAS API definition.
Automatically enabling the request validation middleware
The request validation middleware can be enabled for all endpoints that have defined schemas when importing an OpenAPI Document to create a Tyk OAS API.
- if you are using the
POST /apis/oas/importendpoint in the Tyk Dashboard API or Tyk Gateway API then you can do this by setting thevalidateRequest=truequery parameter - if you are using the API Designer, select the Auto-generate middleware to validate requests option on the Import API screen
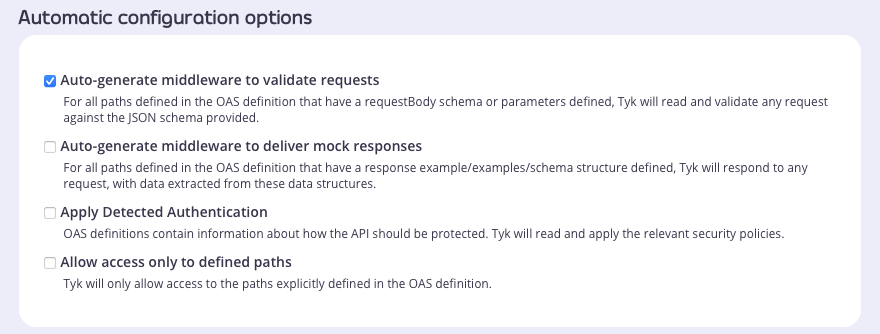
If you want to adjust the configuration, for example to remove validation from specific endpoints or to change the HTTP status code returned on error, you can update the API definition as described here.
Manually enabling the request validation middleware
The design of the Tyk OAS API Definition takes advantage of the operationId defined in the OpenAPI Document that declares both the path and method for which the middleware should be added. Endpoint paths entries (and the associated operationId) can contain wildcards in the form of any string bracketed by curly braces, for example /status/{code}. These wildcards are so they are human readable and do not translate to variable names. Under the hood, a wildcard translates to the “match everything” regex of: (.*).
The request validation middleware (validateRequest) can be added to the operations section of the Tyk OAS Extension (x-tyk-api-gateway) in your Tyk OAS API Definition for the appropriate operationId. The operationId for an endpoint can be found within the paths section of your OpenAPI specification.
The validateRequest object has the following configuration:
enabled: enable the middleware for the endpointerrorResponseCode: [optional] the HTTP status code to be returned if validation fails (this defaults toHTTP 422 Unprocessable Entityif not set)
For example:
|
|
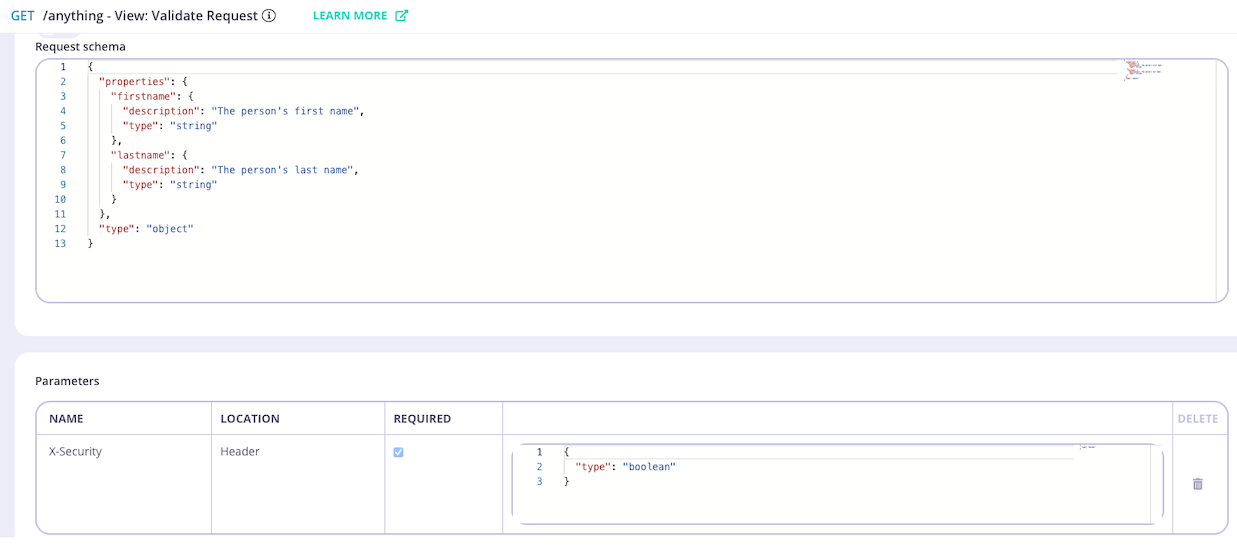
In this example the request validation middleware has been configured for requests to the GET /anything endpoint. The middleware will check for the existence of a header named X-Security and the request body will be validated against the declared schema. If there is no match, the request will be rejected and Tyk will return HTTP 400 (as configured in errorResponseCode).
The configuration above is a complete and valid Tyk OAS API Definition that you can import into Tyk to try out the request validation middleware.
Configuring the middleware in the API Designer
Adding and configuring Request Validation for your API endpoints is easy when using the API Designer in the Tyk Dashboard, simply follow these steps:
Step 1: Add an endpoint
From the API Designer add an endpoint that matches the path and method to which you want to apply the middleware.
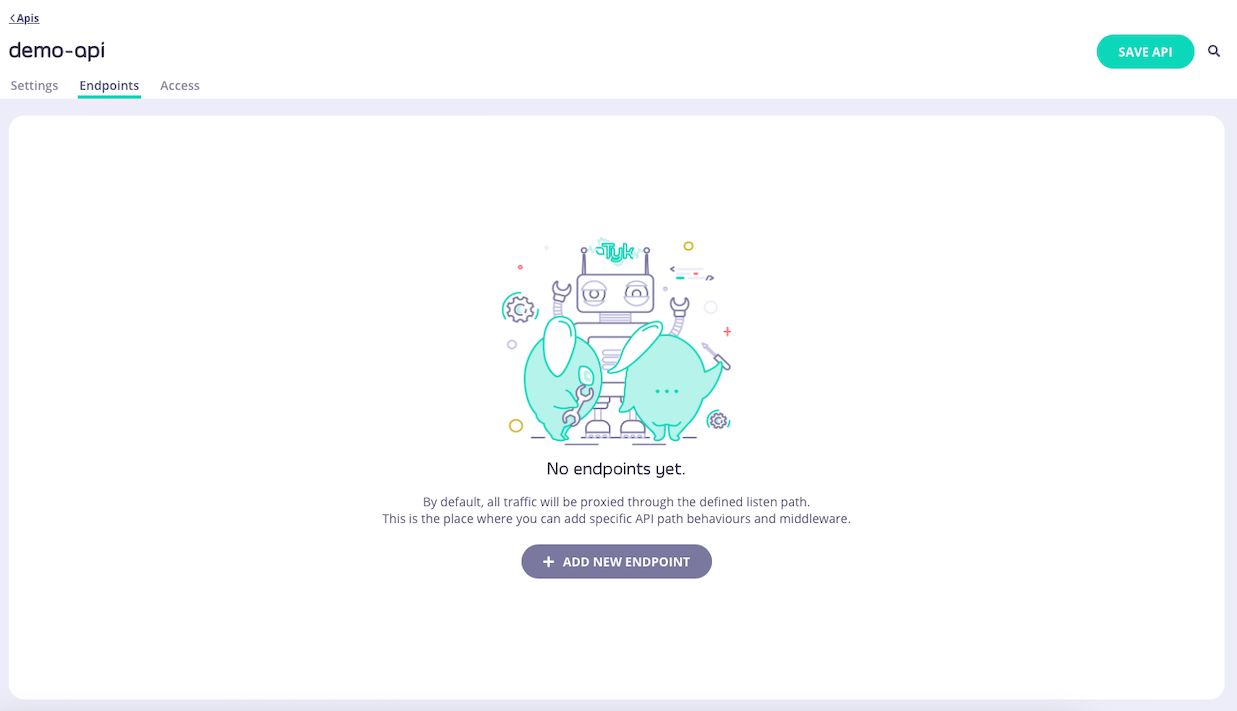
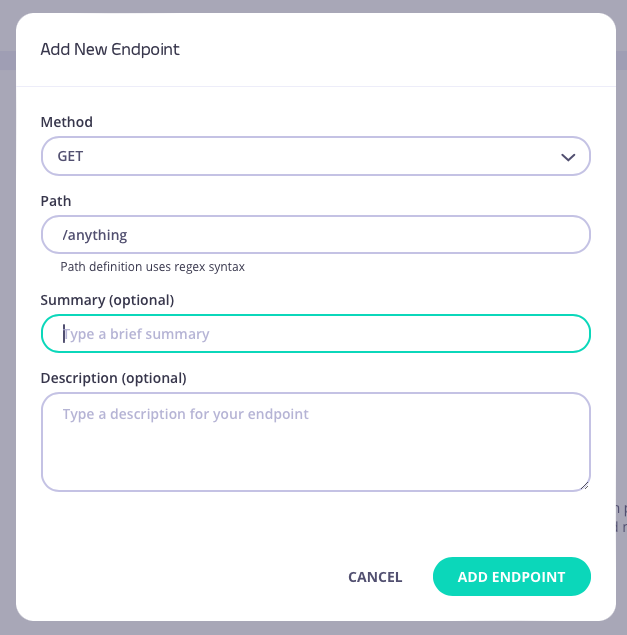
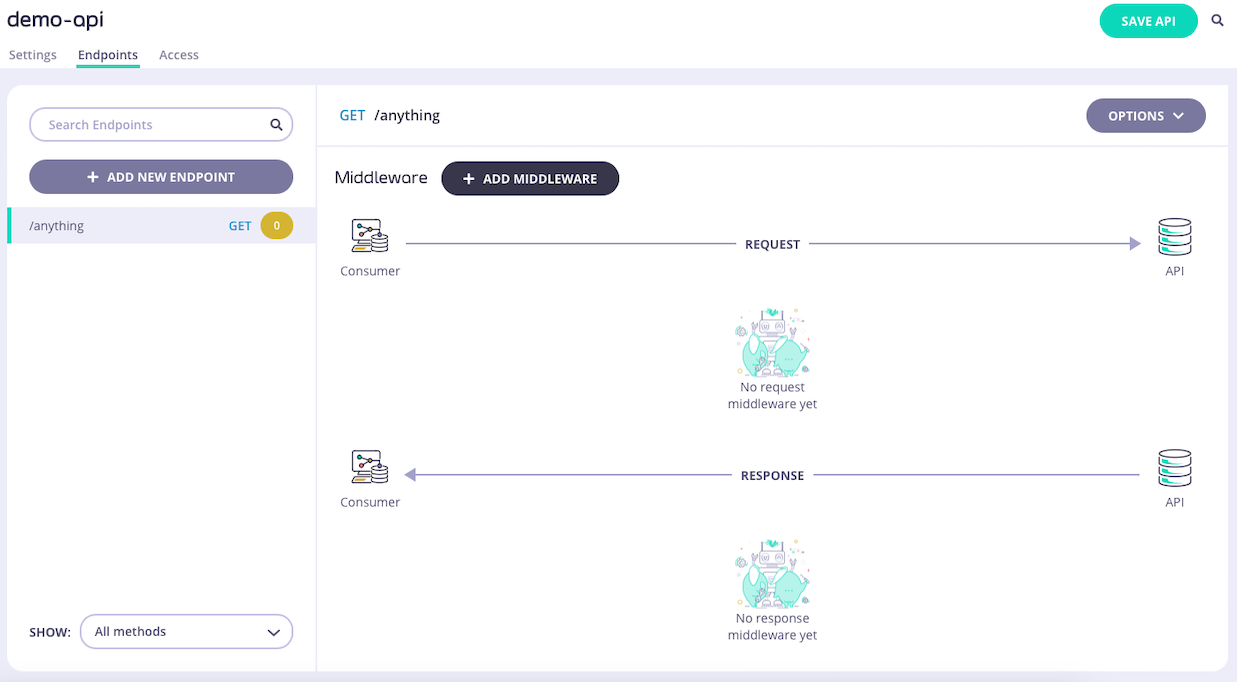
Step 2: Select the Validate Request middleware
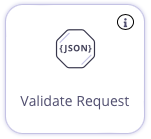
Select ADD MIDDLEWARE and choose Validate Request from the Add Middleware screen.
The API Designer will show you the request body and request parameters schema detected in the OpenAPI description of the endpoint.
Step 3: Configure the middleware
If required, you can select an alternative HTTP status code that will be returned if request validation fails.

Step 4: Save the API
Select ADD MIDDLEWARE to save the middleware configuration. Remember to select SAVE API to apply the changes.
